


How to make coffee art
Recent coffee art trends
- Rainbow Latte’s - The milk is dyed with edible food colouring before the pouring of the design. The angle of the pouring swirls the colours to create a rainbow effect.
- 3D Foam Art - The milk used to make the coffee is steamed until the froth is thick and stiff enough to shape into the desired design. Each design is a 3D creative work of art that sits on top of the coffee.
You will need:
- Manual espresso machine
- Milk
Procedure
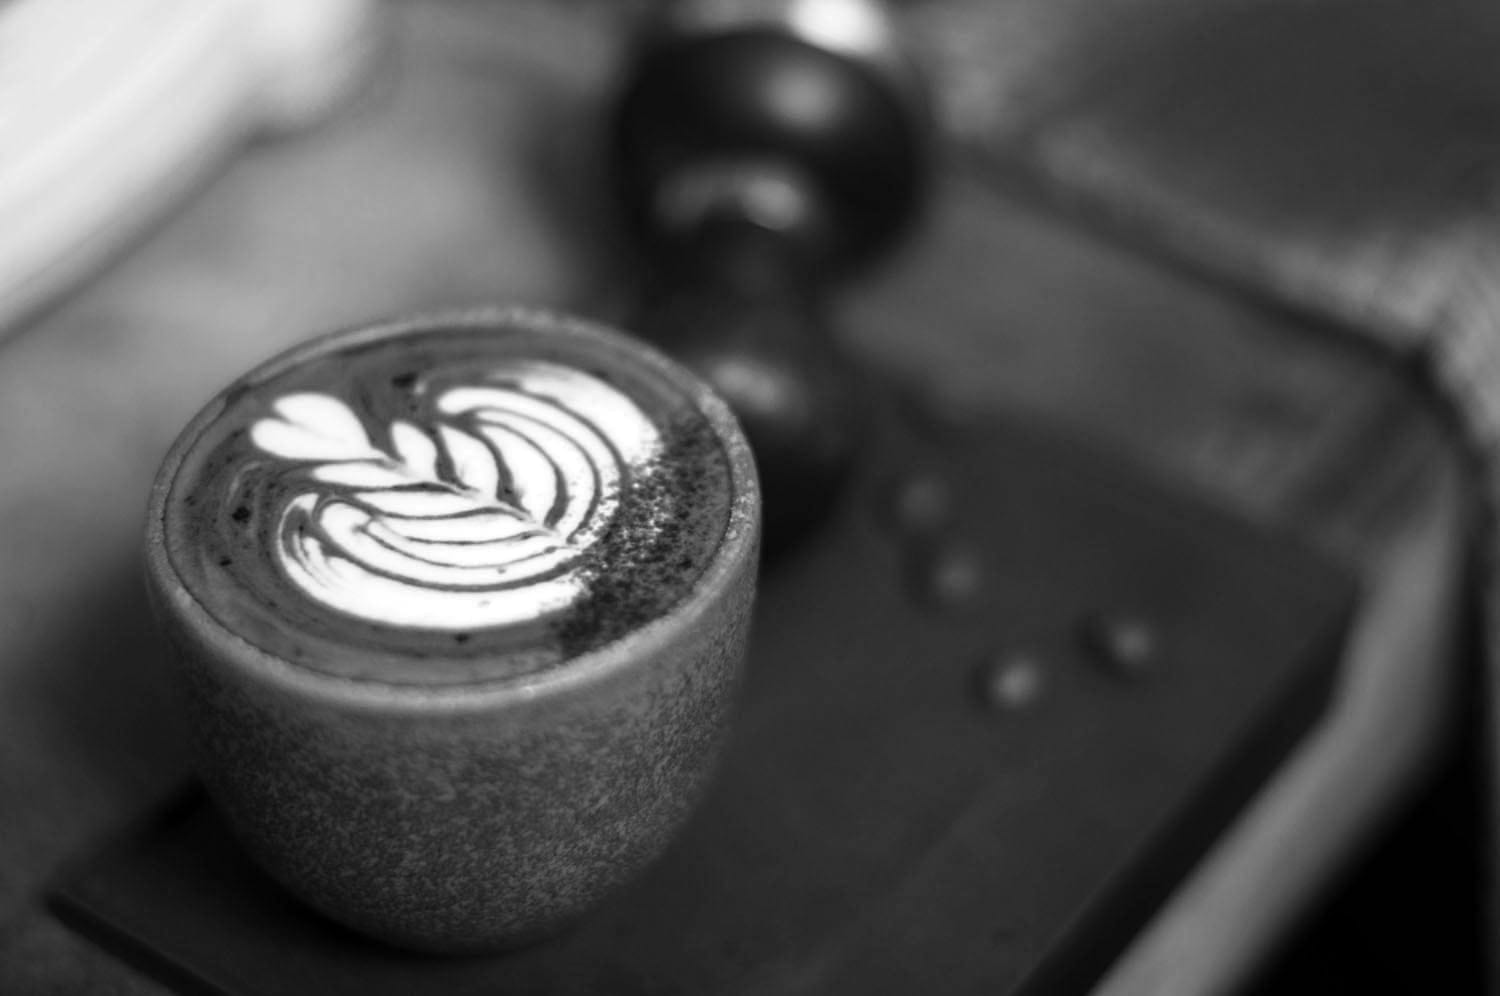
Step 1: Pour enough milk for a cup of coffee into your machines pitcher. Refrigerate for 30 minutes. Step 2: Remove from fridge and place in the machine. Lower the steam wand so it sits in the bottom of the pitcher. Turn on the steam and bring the wand up to just below the surface of the milk. Move your pitcher as the milk rises to keep the wand at a constant 1cm below the surface. Step 3: Once the milk reaches 37 degrees, lower the wand to one side at the bottom of the pitcher, and spin the milk counter-clockwise. Keep going until your milk reaches 65 degrees turn off the steam then remove the pitcher and set to one side to settle. Step 4: After a few seconds of settling swirl your milk energetically. If bubbles appear tap the pitcher a few times on the counter, then keep swirling for about 25 seconds. Step 5: Make your espresso shot(s) and transfer to a cup. Immediately start your design. Pour your milk at an angle until the cup is half full, then start to pour toward the back of the cup using side to side movements to create your design. Already have your barista training and want to explore the world of coffee art? Check out our Latte Art course!Check Out Our Socials


- Choosing a selection results in a full page refresh.
- Press the space key then arrow keys to make a selection.
Your cart -
Spend $99 and receive free shipping
Your cart is currently empty.